Day 1,344
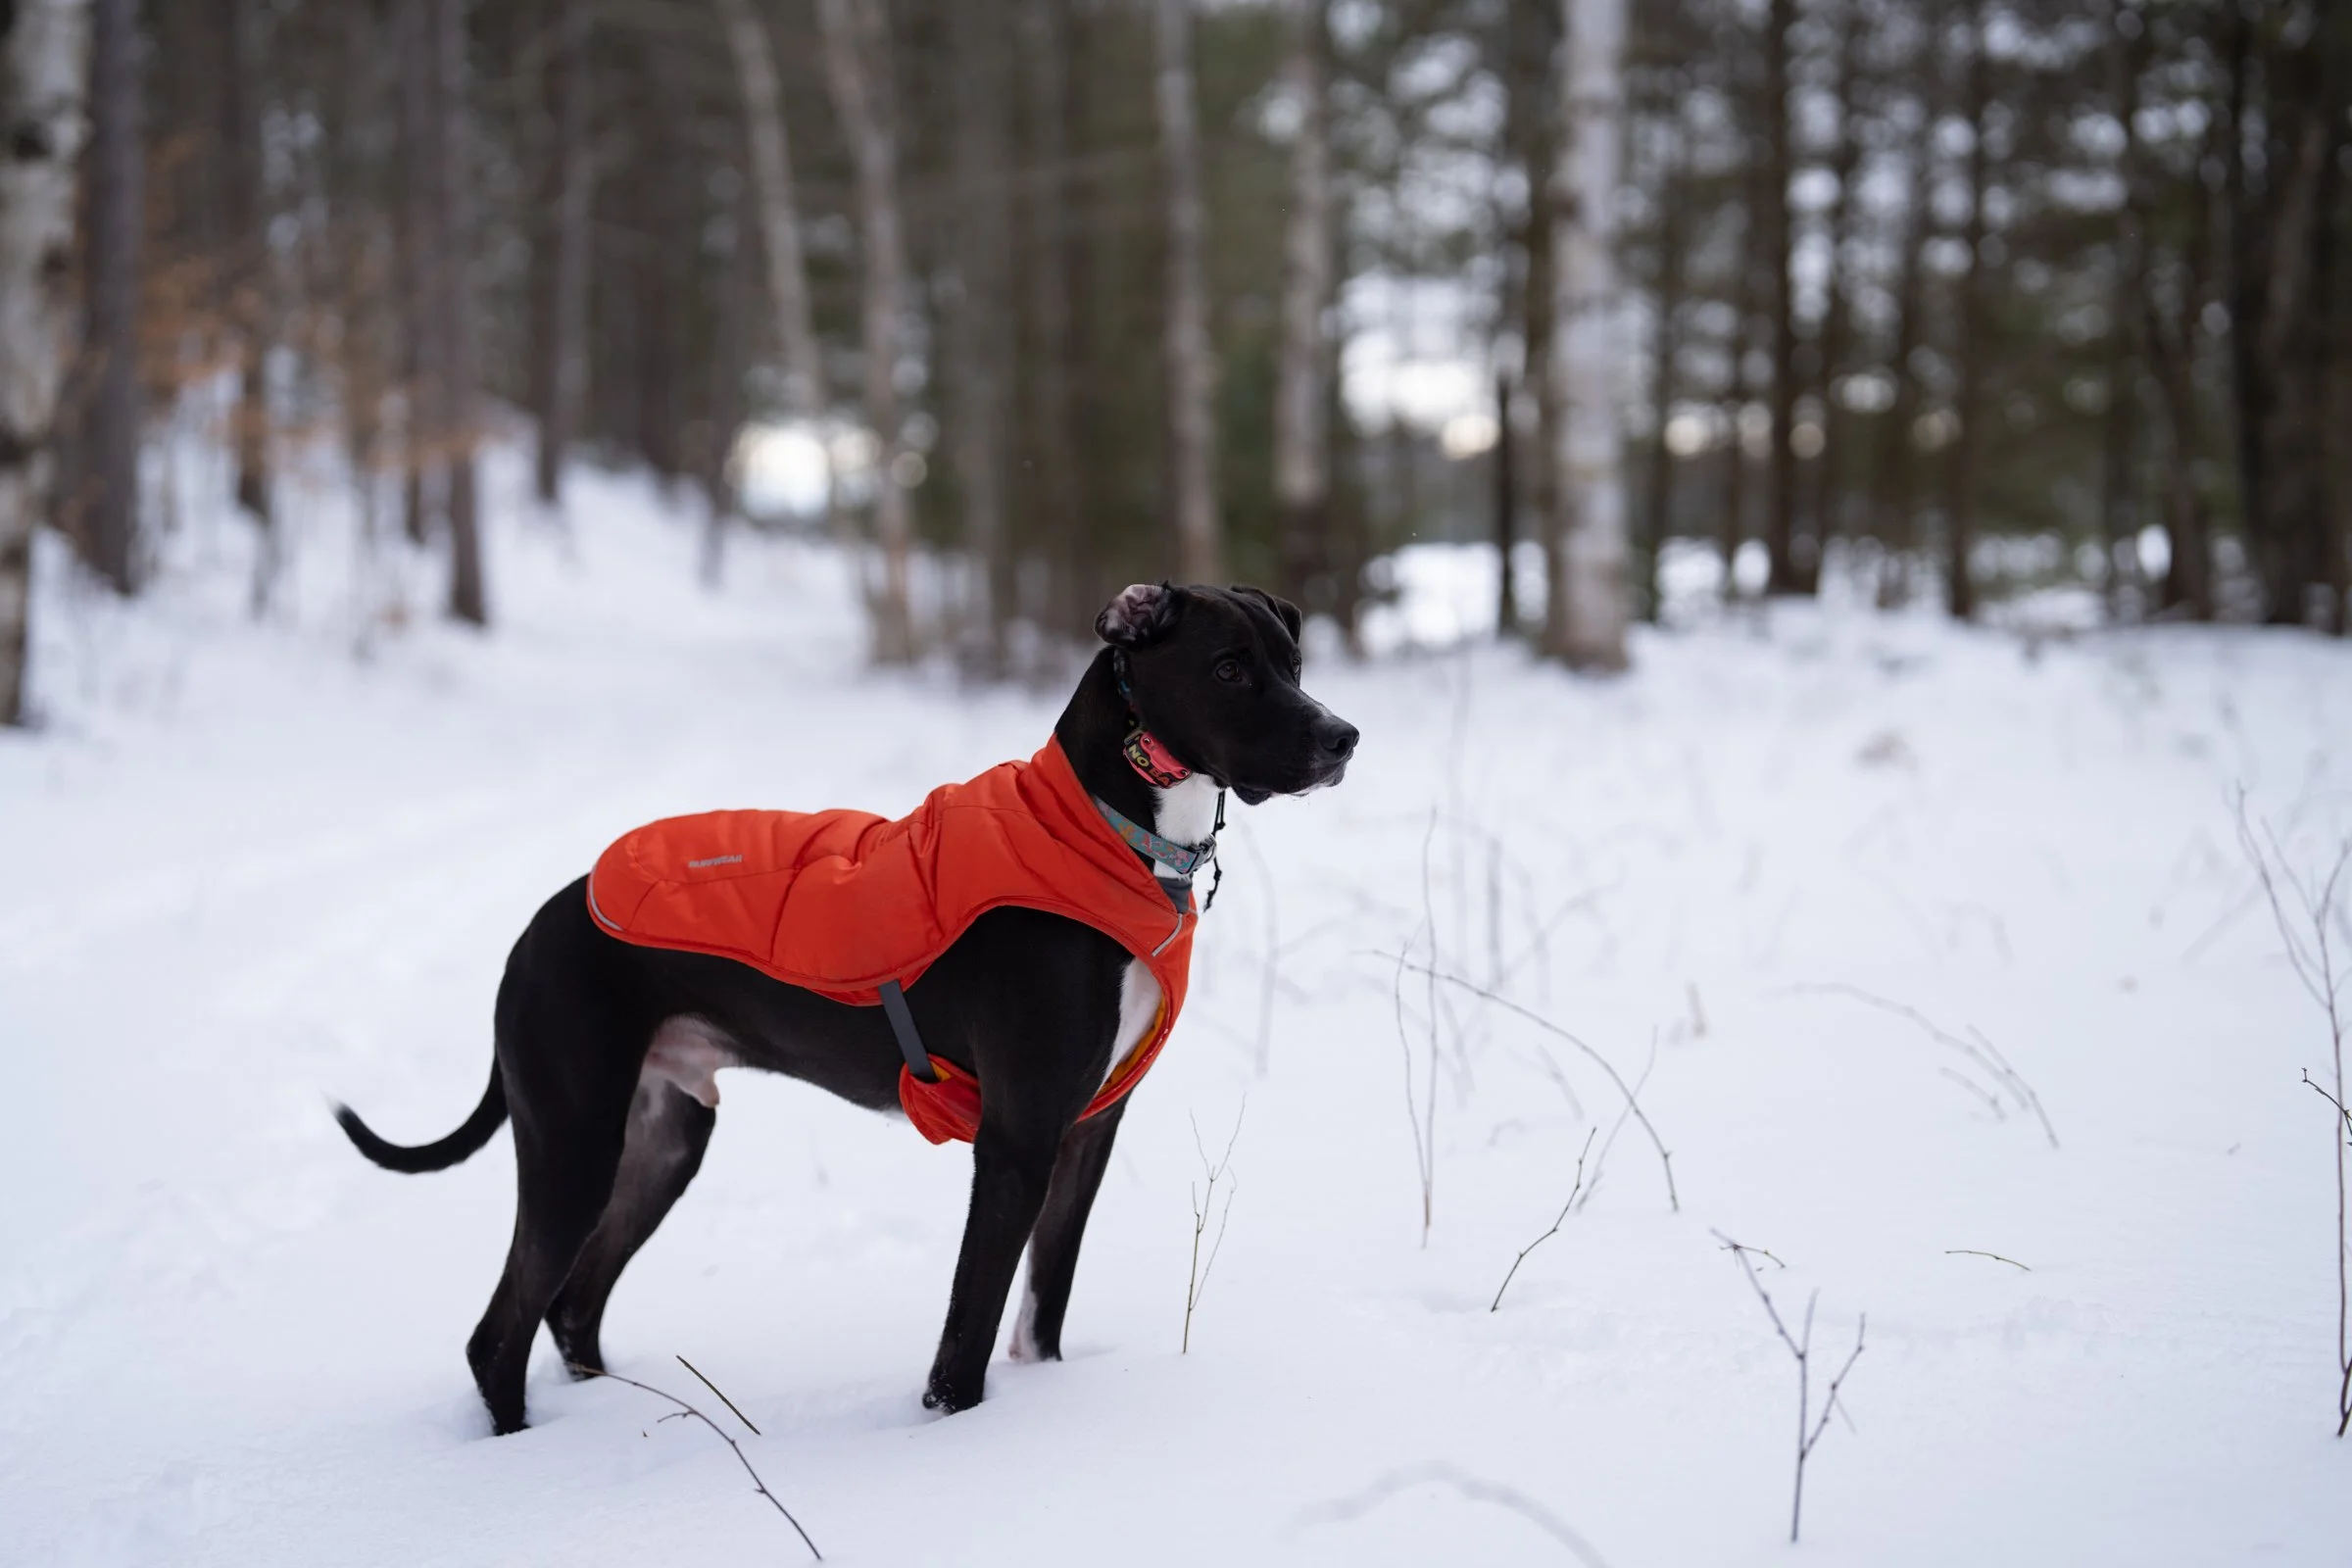
Most people don’t realize that more than half of the work of a professional photographer happens after the shutter button is pressed. I shoot all of my photos in a RAW file format. RAW files are like digital film negatives; they have no processing done to them; it’s just the data captured by the image sensor. When you take a photo with your smartphone or even a mirrorless camera with default settings, there is a lot of image manipulation to make your photos look as good as possible. Before digital cameras, photographers would choose a film based on color and contrast characteristics. Then, they would further edit the photo in the darkroom by masking, dodging, and burning, all techniques to alter the brightness and contrast of an image. Below is a side-by-side comparison of the original RAW file and the final edit for today’s photo. Nine masks are applied to the image to shape light and color, adding more depth. When working on this daily photo series, I try to keep my edits to a minimum because I don’t have the luxury of time. If I had more time I would go through and clean up some of the branches along the edit of the frame and near Nico’s back legs. This is what you are paying for when you hire a professional photographer, and it’s the number one reason a professional’s photos look so much different from what you capture with your smartphone.
Many thanks to my Patreon supporters for making this series possible.
Gear Used For This Shot
Sony A7RIV - Sony 50mm f/1.2 GM - Ruffwear Vert Dog Jacket - Dogtra Tom Davis 280C E-Collar - Lupine Originals Wet Paint Collar - LuckyPet Rive-On Pet ID
This blog is reader-supported; I may earn an affiliation commission when you buy through links on this site.
Dog Gear
Check out our favorite dog gear, toys, and treats.




There are a lot of camera-carrying systems on the market. If you want to attach your camera to a backpack, you’ve likely come across the Peak Design Capture Clip. But there is a lesser-known product out there that is way more versatile: the Ulanzi Falcam system.